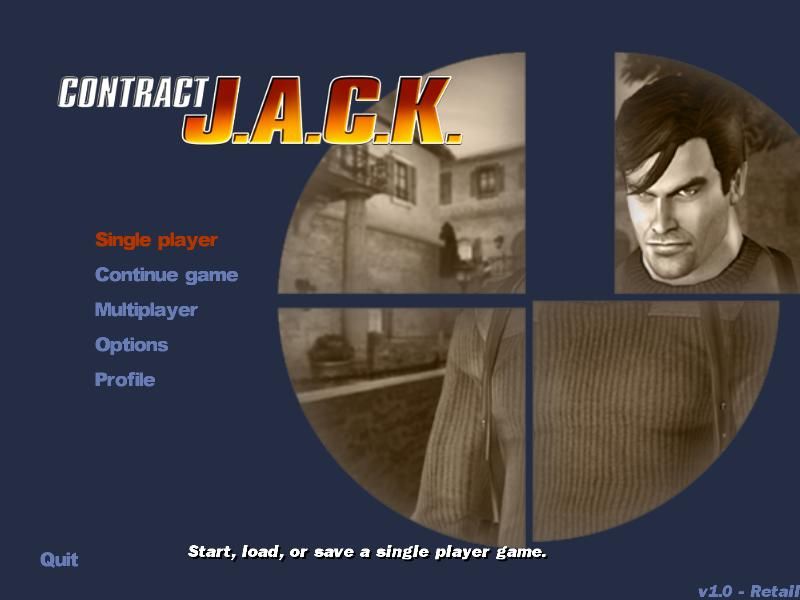
The main menu is where you start each time the game is launched, and contains the following options.
Single player: Use this option to start a new single player game, load a previous single player saved game, or select a chapter where you would like to start to play. See more info below.
Continue Game: This loads the most recent saved or auto-saved single player game. If there aren't any single player saved game files associated with the current profile, then this item will be unavailable.
Multiplayer: Use this to host or join a multiplayer game on the internet or your LAN. For more information, see the multiplayer section below.
Options: This will open the game's control panel and allow you to modify many aspects of the game such as key mappings, display settings, and game options. For more information, see the options section below.
Profile: Contract J.A.C.K. was designed so that multiple players can maintain their own unique settings and saved games. Use these options to create, load, or edit your own personal player profile.
Quit: Shuts down the application.
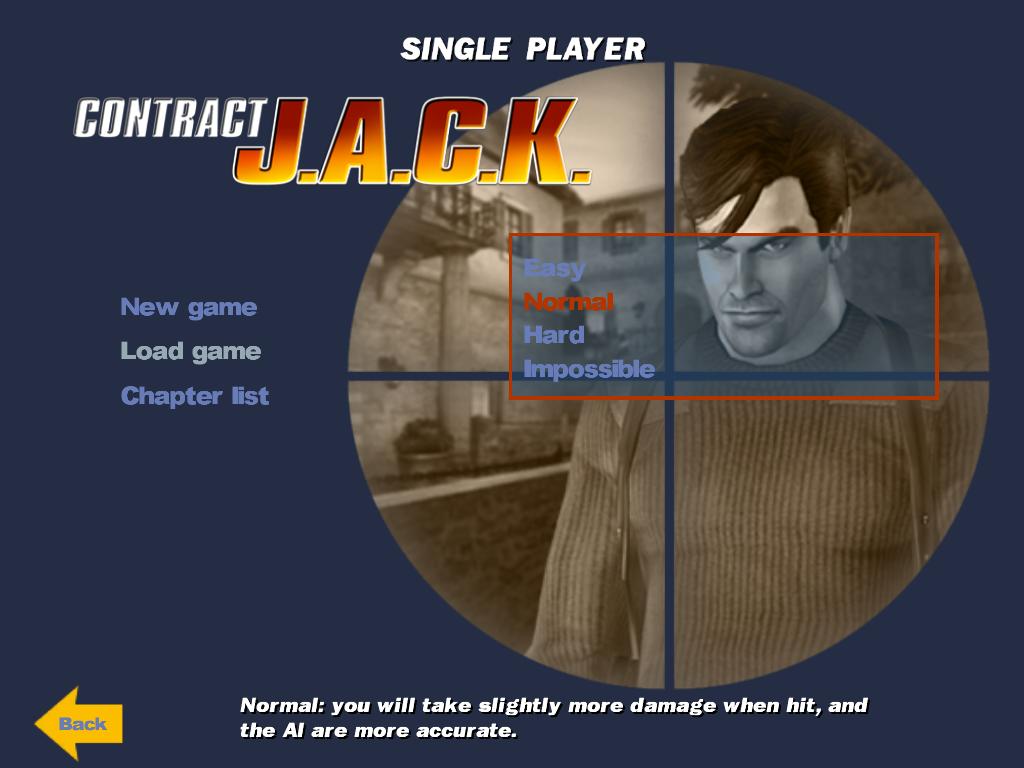
SINGLE PLAYER
New Game: This starts a new game for the current player profile. Before the game begins, you'll be prompted to choose a difficulty level. The normal difficulty setting is recommended for first time players. If you feel that the game is too hard or too easy to play, you can change the difficulty level at any time using the game options menu.
Load Game: Here you can load a previously saved game. This option will be unavailable if there aren't any save game files for the current profile. Here's an overview of the features of this menu:
- Quick Load (F9): Loads the current quick saved game. Pressing the F9 key will have the same effect.
- Level Start: While playing through the game, an automatic save file will be created at the beginning of each scene. This option will load the last auto-saved game.
- Checkpoint: Some levels contain checkpoints that will automatically save your progress. This option will allow you to return to the most current checkpoint save available.
- Saved Games: Lists all of the other saved games for the current profile in chronological order from oldest down to the newest unless the save file is overwritten.
Chapter List: This displays a sub-menu where you can select a certain chapter to replay. Note that this option only appears after you've completed the single player campaign.
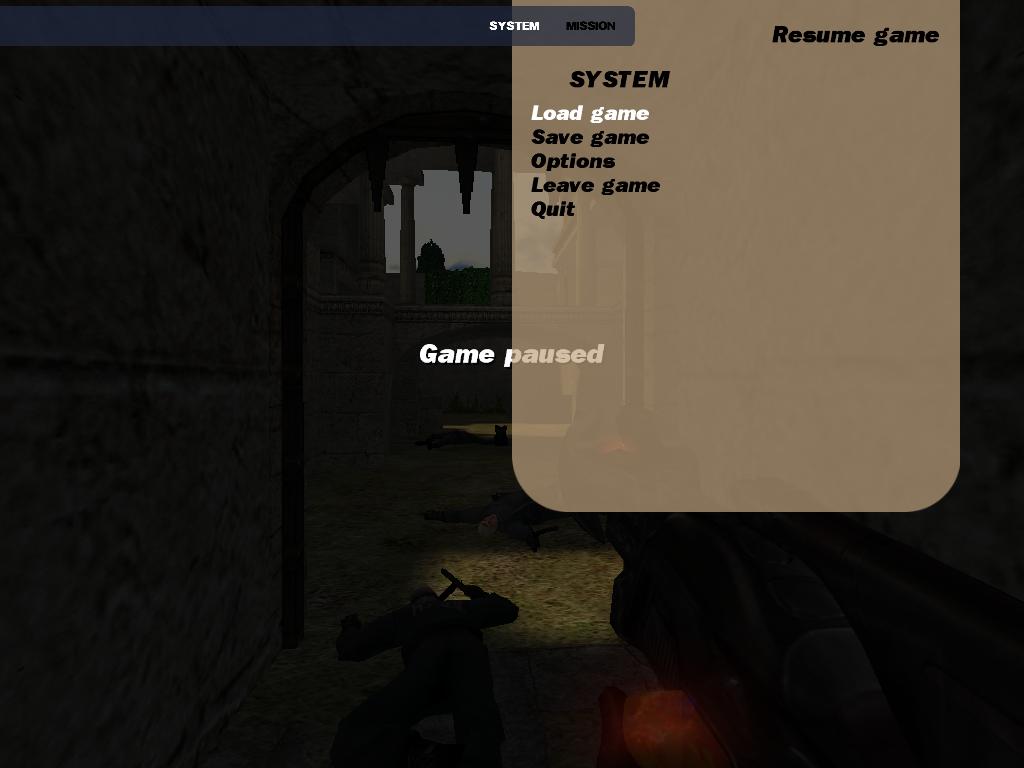
IN-GAME MENU
While you are playing a game, press ESC to view the in-game menu. There are two tabs on top of the screen: System and Mission.
The mission tab features the following options:
Load Game: This is the same as the Load Game in the Single Player menu.
Save Game: Select this option to manually save your progress. This option is not available in the single player menu because a game must actually be in progress. There are different ways to save a game:
- Quick Save (F6): It saves your current progress to the quick save file. Pressing F6 while playing has the same effect. Note that there is only one quick save file, so if you quick save again, the previous quick save file will be overwritten.
- Saved games: Choose a blank slot or existing saved game to manually save your game. These saves are stored permanently until you manually overwrite them.
Options: This will open the game's control panel and allow you to modify many aspects of the game such as key mappings, display settings, and game options. For more information, see the options section below.
Leave Game: Select this to return to the game's main menu.
Quit: Shuts down the application.
Click on the mission tab to see your current game objectives. You can also access this tab by press the TAB key. Objectives sometimes update while you play a chapter, indicated by an objective update notification in the upper left corner of the game screen. In multiplayer games, the TAB key will bring up the scoreboard instead.
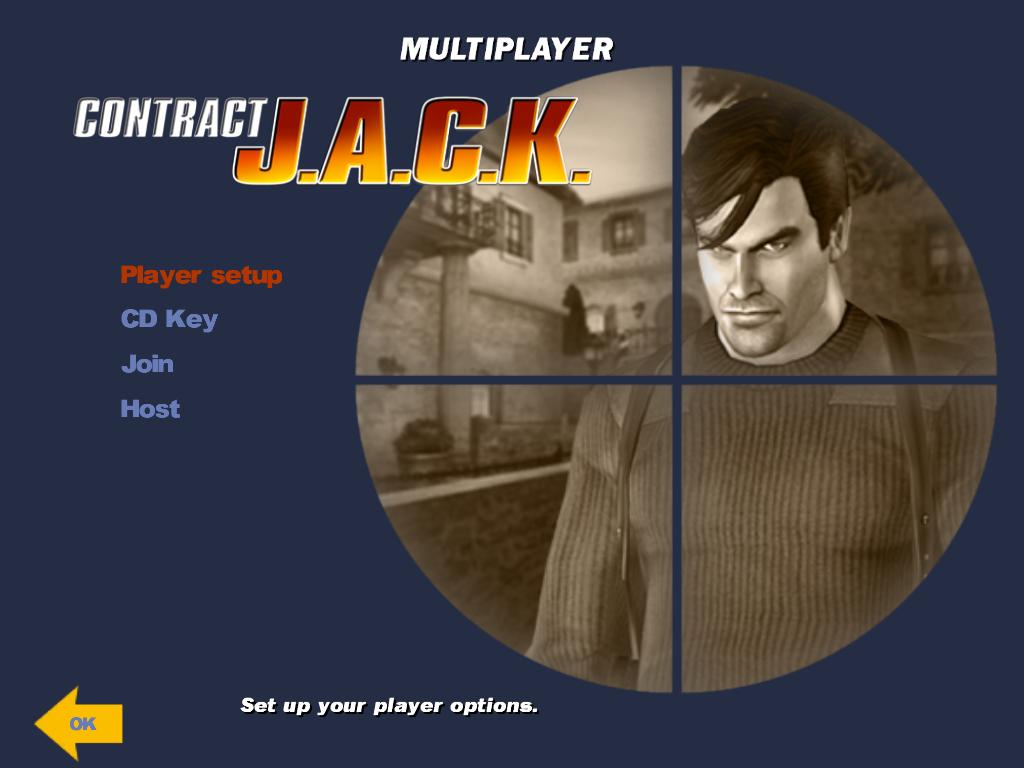
MULTIPLAYER
Player Setup: Here's where you can customize certain aspects of your character and connection for multiplayer games, including:
- Player name: the name entered here will appear in all in-game text that applies to this player, including chat, transmissions, score tables, and enter/exit messages. This defaults to the current profile name.
- Deathmatch model: Allows you to choose the appearance of your character.
- Bandwidth: Provides an assortment of preset bandwidth options. The actual bandwidth for each option will appear in the bandwidth (custom) setting below. Choose the option that is the closest match to your internet connection type or speed. Available options are 56k, Cable, DSL, T1 and T3.
- Bandwidth (custom): Enter a custom bandwidth value here if none of the available options matches closely enough to your connection speed.
CD Key: Click on this to enter or re-enter your CD-key. You cannot play on the internet without first entering a valid CD-key.
Join: Use this to join existing games of Contract J.A.C.K. on your LAN or on the internet. When you first enter this menu, the list of servers will be automatically updated. When the server list is complete, you'll be presented with these options:
- Refresh server list: Searches for active Contract J.A.C.K. servers on both your local LAN and on the internet. When this process is completed, the list of found servers will appear in the window below. Click on a server in the list to join that game. Note that any servers that are locked will require a password to join.
- Server name, game type, Ping, Lock, Version: Clicking on any of these will sort the current server list accordingly.
- Filters: Use these options to limit the servers displayed based on the game version, number of players, ping, mod or game type.
Host: Click this to configure and launch your own server for other players to join. the controls available in this section are:
- Session name: Changes the name of your server. This is the name that will appear when other players search for games on your LAN or the internet.
- Game Type: Toggles through the available game modes, including Deathmatch, Team Deathmatch, Doomsday and Demolition.
- Connection: Toggle to LAN Only to limit this game to players on your local network, or Internet to allow players from the internet to join as well.
- Map Selection: Shows the name of map list that is currently loaded for this game mode. Clicking on this will open the Map Selection screen where you can modify the list of maps that your server will run and the order in which they'll be played. the default map list includes all of the maps that are intended for use with the current game mode.
- Lock Server: Determines if your game will require a password or not. When locked, insert a password that all players will be required to provide in order to join.
- Allow SCMD: Toggle this on and add a password if you want to enable SCMD controls so that the server can be controlled by a remote client.
- Network port: Allows you to change the network port to use for your game. The default is set to 27888.
- Bandwidth and bandwidth (custom): Same as when joining game (see above).
- Options: These are settings that will affect gameplay on your server. The options vary on game type and include the maximum number of players, run speed, frag score, number of rounds, weapon spawns score and time limit (deathmatch modes only), revive score / completion score / heavy and light piece score / steal piece score (doomsday games only), and various team options for team mode games.
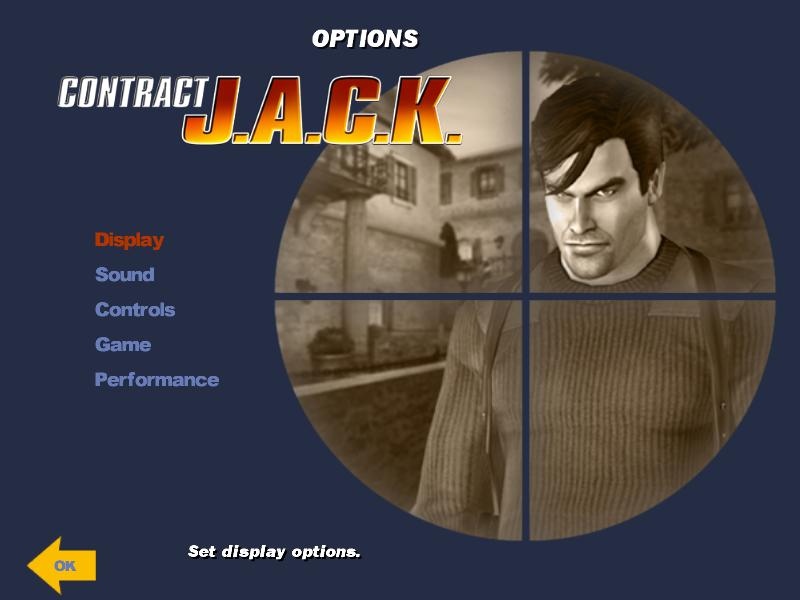
OPTIONS
Display: Here's where you can modify your display resolution, hardware cursor, Vsync and Gamma.
Sound: All your sound adjustments can be made in this section, which includes volume settings for sound, speech and music, and quality settings for sound effects and music.
Controls: This is where you can customize your key mappings, as well as adjust your settings for the keyboard, joystick and mouse.
Game: Here you'll find a variety of settings that will affect how the game is played. You can select a crosshair, enable/disable subtitles and blood and weapon auto-switch, change the difficulty and more.
Performance: This menu will help you optimize performance on your particular computer configuration. You can set performance, texture resolution, precache assets and modify advanced display settings, as well as test your settings.
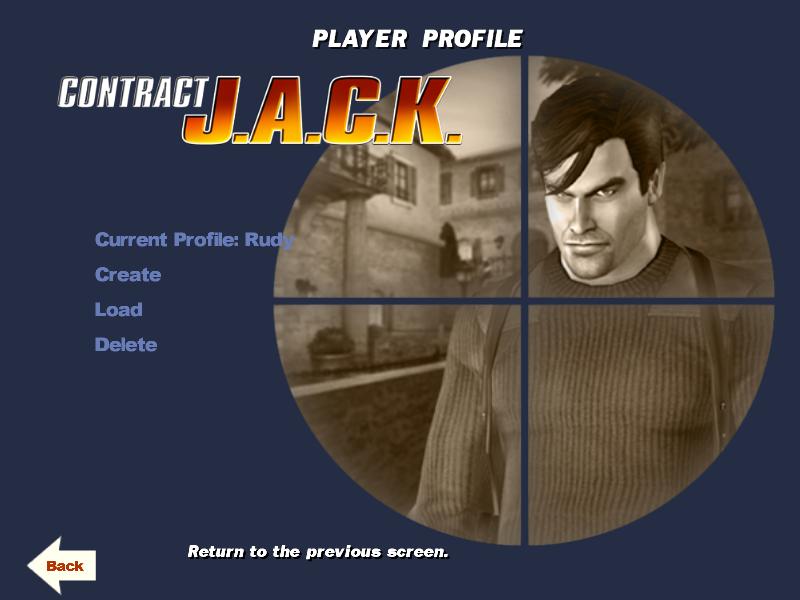
PROFILE
Current profile: This displays the name of the player profile in use.
Create: If you wish to create a new profile, click on this and enter a new profile name. Note that a new profile will automatically be assigned the default game settings and controls.
Load: Displays a list of existing players. Click on a name to load the profile and all of the settings and saved games associated with it.
Delete: Displays a list of existing players. Click on a name and then select Yes to delete that profile and the settings and saved games associated with it.
(On a personal note, I see no use in this profile menu and didn't even realize it was there until after I completed the game. How many people are going to play the game on the same computer anyway, especially considering it's M-rated and considering there's a handy chapter selection? Did the Duggar family ask for this feature perhaps?)